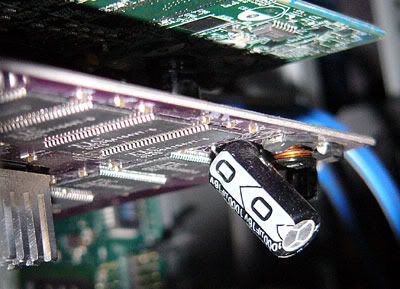
was not looking too healty. For those who do not know, the top of that capacitor should be flat, and well below the level of the plastic coating on top of the case.
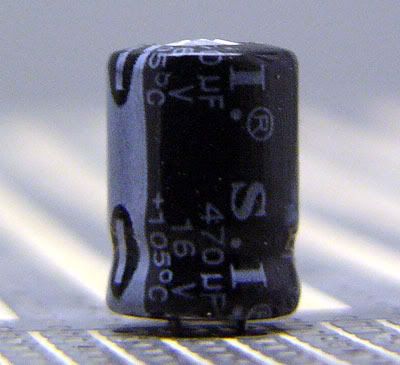
This cap. was hanging out with some power supply-looking components. I placed a bet that it was a power supply filtering capacitor. As you can see, it's rated 470µF 16V. The size of it is about right for a 1 slot-wide video card that doesn't impinge on the next card slot in the PCI bus. Knowing a little something about power supply filters and capacitors in general, I decided to take a chance. I removed the old capacitor. I found the closest capacitor I could from our spares here (1,000µF 16V), and bent the leads to fit the smaller footprint. Then I soldered it to the pads where the old capacitor was. The fitment is . . . questionable

but the effect is not. The video output from the card is now rock-solid.
WIN!


No comments:
Post a Comment