I had to photograph this object for work so that the text was easily legible, and it took me a couple of minutes to figure it out.
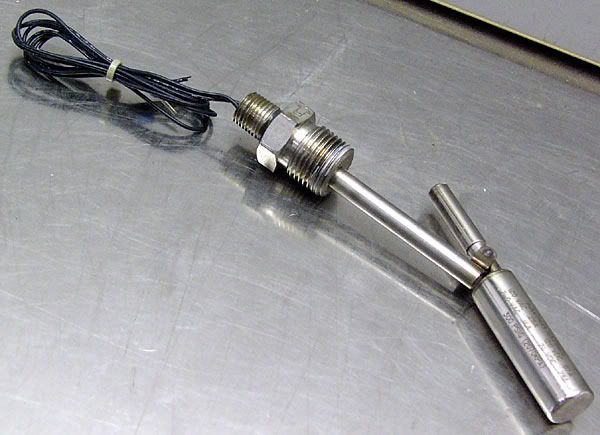
This page is so that you can store the technique in your memory banks so you don't have to waste time during a photo shoot. My problem was complicated by the lovely stainless shooting table I was using. A white or grey work surface would be great, but it would get all scratched and filthy in short order, with the other stuff I have to shoot that is . . . not as clean as this switch. Any colored tabletop surface will throw color into your image which is not necessarily a bad thing. A softbox for lighting would make this easier, but not everyone has one. My setup has horizontal overhead fluorescent lighting.
You have to play with some photographic subjects to get a proper image. This page describes what I did before finding a quick, easy, and zero-dollar solution to the problem of a glare-free, in-focus picture of a long reflective cylinder with text wrapped around it.
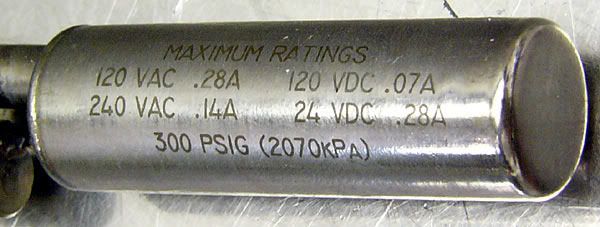
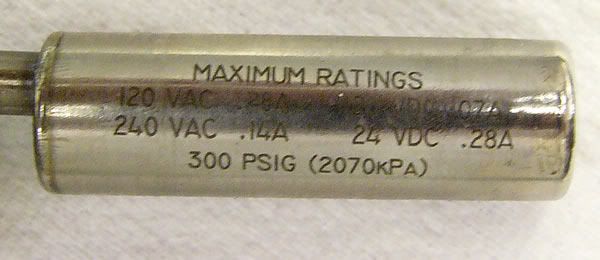
To begin with, this is the acceptably-shot final image:
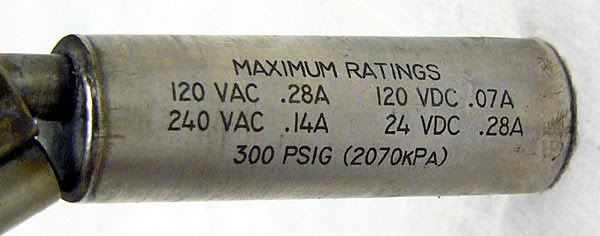
It could use a bit less saturation, or at least less yellow saturation, but it will do for this article.
Just laying it on the table
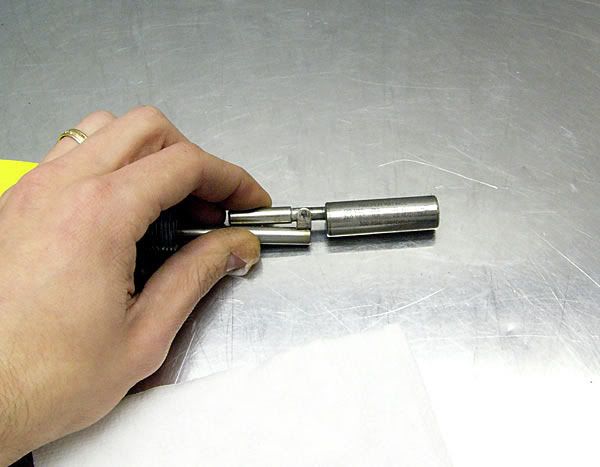
. . . gets you glare AND shadows when you shoot it straight-on.
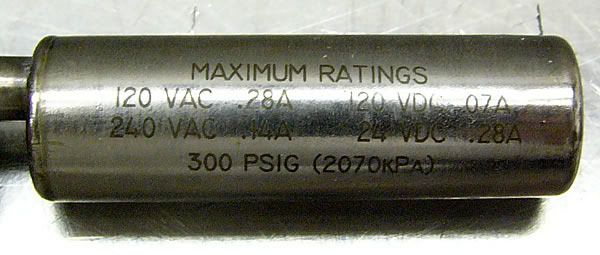
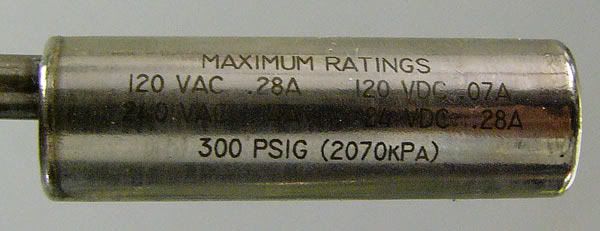
Put the camera at an angle to the subject and the glare and shadows mostly go away. They are replaced by loss of focus due to the depth of field. You want the whole thing to be in focus? I hope your area is very brightly lit, because you're going to be WAY up there on the F stop adjustment. This is at F5-ish if I recall correctly
If this is good enough for you, be pleased that you are easy to please. This is a very fast solution. Tilt the camera and BAM . . . done! But look carefully. One end of the cylinder is in sharp focus. The other end is plainly legible, but the focus is soft. If this cylinder were any longer I'd be in trouble.
The main solution I use for shooting (blued) gun barrels is to hang the subject vertically. The glare from the overhead lights is greatly reduced.
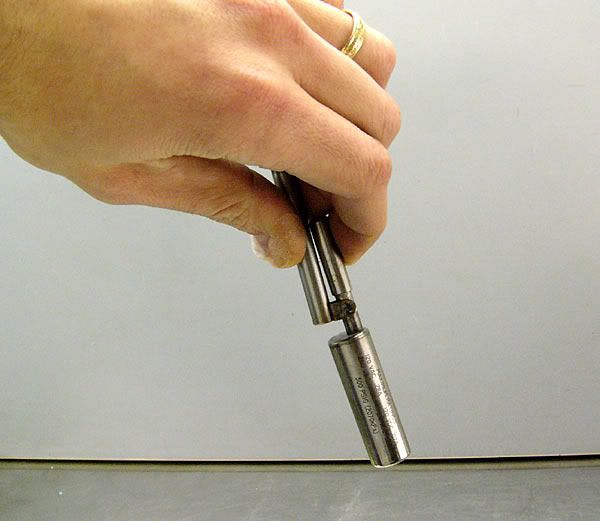
That's great for a black subject with embossed text. This subject is a mirror with etched text (no 3D structure for contrast). It takes away the glare like a champ, and adds shadow so you can't make out one of the four lines of text. If the whole room were white, this wouldn't be a problem. You would get a little sliver of color from your own reflection, but it would be okay. The room behind me is full of stuff. This is unacceptable.
Another technique is to gently shade *some* of the light hitting the object on a table. This is the perfect application for a small soft box. I don't have a soft box, I have a hand. This works quite well for some subjects, but not in this case. You could also use a sheet of plain white paper slightly higher than where my hand is, and that might be all you need. I didn't have a big-enough stiff-enough sheet of white paper immediately accessible. I had this white paper towel which is all I needed (but we're skipping ahead).
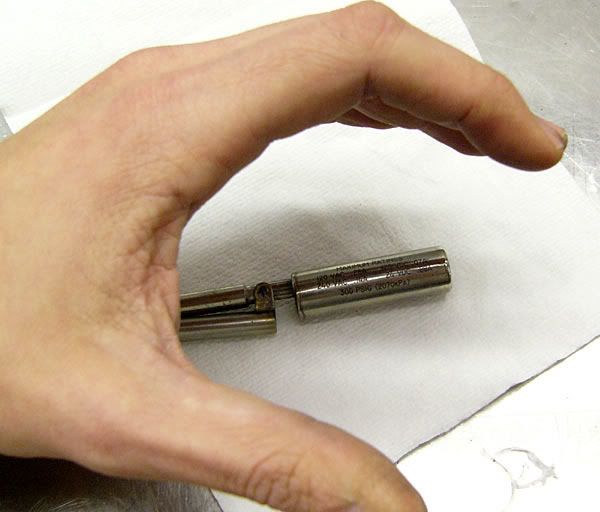
Glare is greatly reduced but now we're dealing with hand-colored reflection and shadowing.
Almost good enough, but not quite.
Then I hit upon the solution. The paper towel won't reflect glare and casts no colors or shadows. Upend the object and tilt it toward the paper towel. All the light you are collecting is effectively coming off a diffuser. For longer objects, a white bed sheet or a clean concrete surface may be in order. If you have a larger white (or neutral) table top, you can put a little less angle on it. You can use a lower F stop and faster shutter (which really helps if your camera has no image stabilization!) with this setup. This is at F3-ish and 1/60 second exposure. Yes, my shooting area is much less bright than I would like.
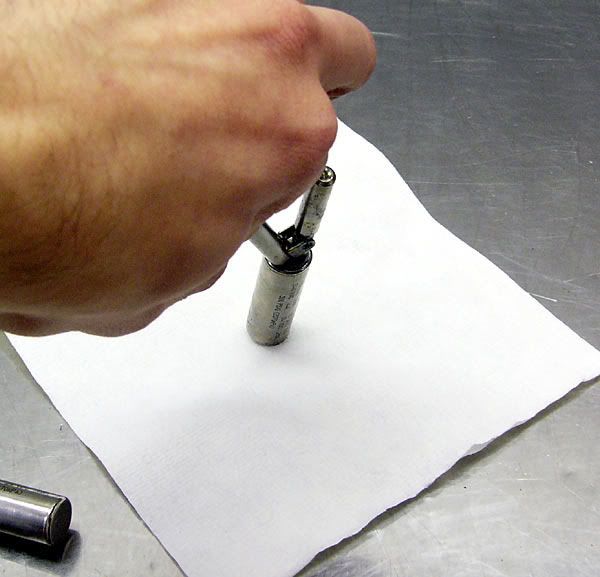
The final result is quite satisfactory.


No comments:
Post a Comment